Taken from Chris Greer https://www.youtube.com/c/ChrisGreer
This is a simple posting of the notes I took from going through Chris Greer’s Wireshark beginners series. IF you haven’t already go to his channel and learn about Wireshark.
Screen layout
- Preferences > Layout
Change from packet bytes to header values
- Layout > Panes
Add button
- Right click packet > Prepare as filter > Selected > Add Button (top right)
Colour rules
- View > Colouring Rules
Custom column
- Preferences > Appearance > Columns > Add
Simple display filters
- tcp.flags.syn==1
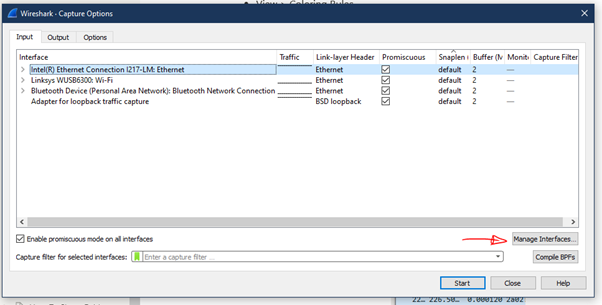
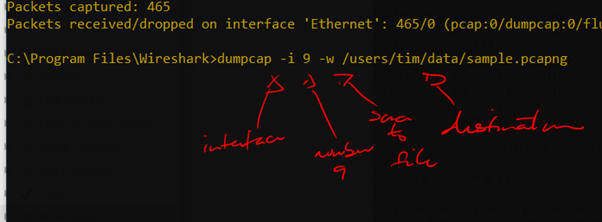
How to Capture Network Traffic
To see which library WS is using to capture the packets
- File > About Wireshark
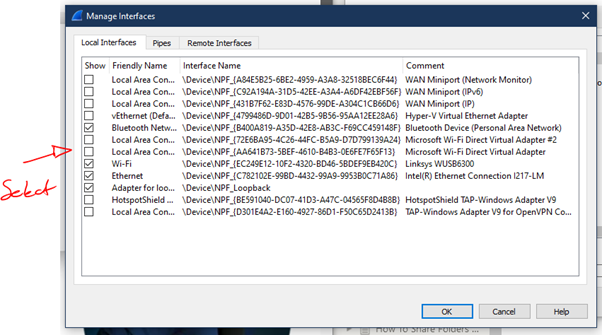
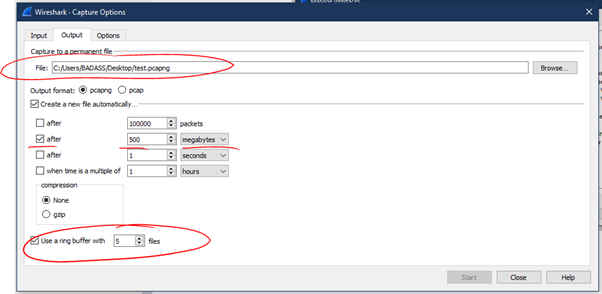
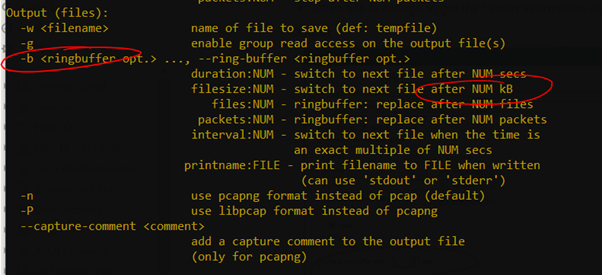
To edit capture options

Snaplength
- Can be set to reduce the amount of data captured in each frame
- Often 64B is enough to get the header information etc
Output
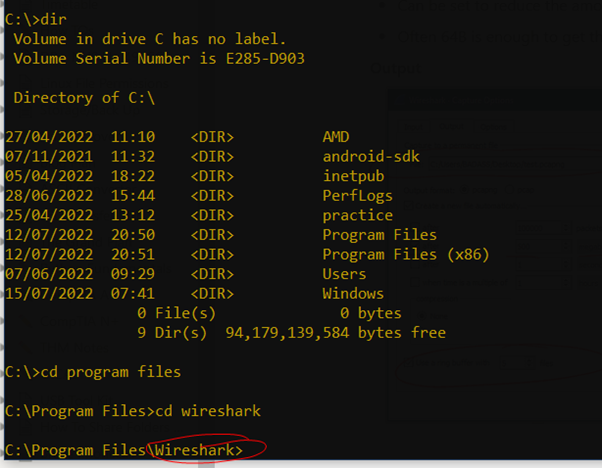
Command Line
Add program path ???
The Difference between Capture Filter and Display filter
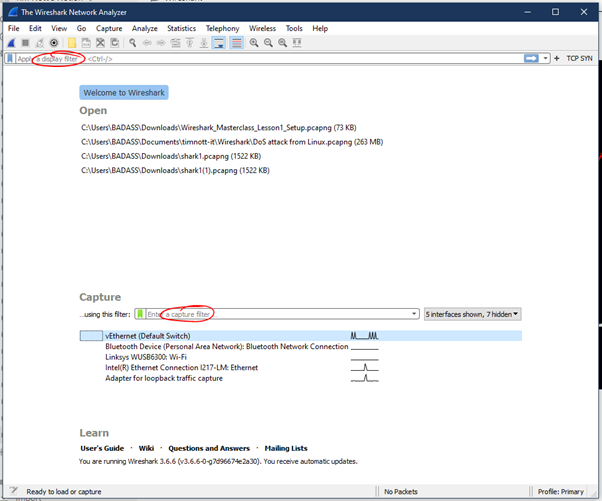
- Capture Filter
- We determine the packets captured as we capture them
- simpler than display filters
- beware over doing the capture filer and then missing the packet you need to analyse
- Display Filter
- filtering packets we have already captured
Right click on a packet to select filter or Conversation filter
- Then you can use brackets to add an extra filter

Not filter
- not arp
- not (arp or ipv6 or ssdp)
- useful to slowly home in on the filter you need or the packets you need.
In parameter
- tcp.port in {80 443 8080}
Clear text strings
- frame contains google (case sensitive)
- frame matches Google (case insensitive)
Name Resolution
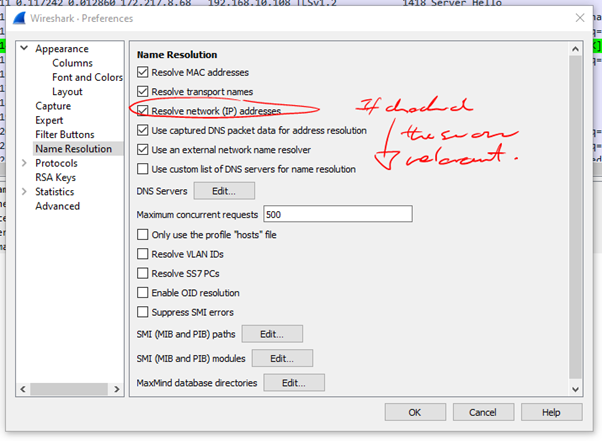
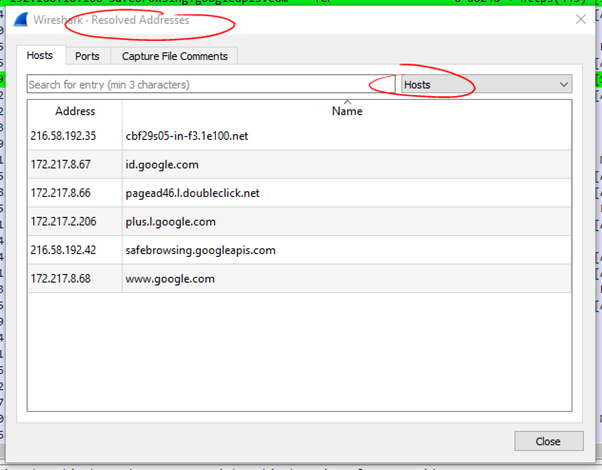
- You can also hover over a frame and right click and choose Edit Resolved Name. Then you can name ‘gateway’ or ‘client’ etc
Time Column
- You can set the time column to various options
- You can right click on a frame and choose Set/Unset Time reference to reset the time to 0.00 on that frame
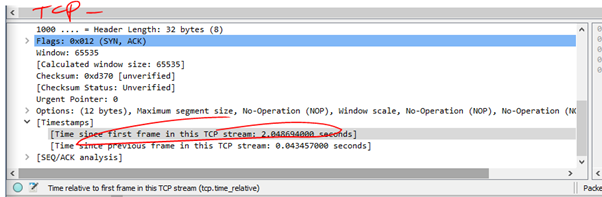
- This is useful as it shows the time relevant to the conversation. Not just the frame above which could be from many other conversations. Set it as a column.
- Then you can sort the column and look for the responses that were particularly slow.
- The ones coming from the server are often pertinent.
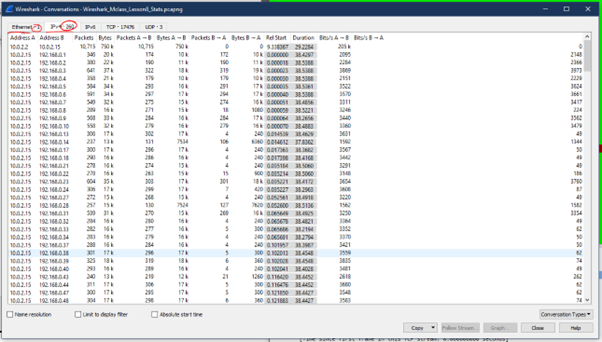
Statistics
- Don’t look at each individual packet. Use statistics!!
- Statistics > Conversations
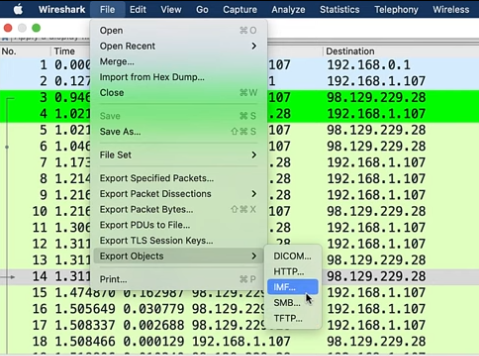
How to Extract Files from a pcap?
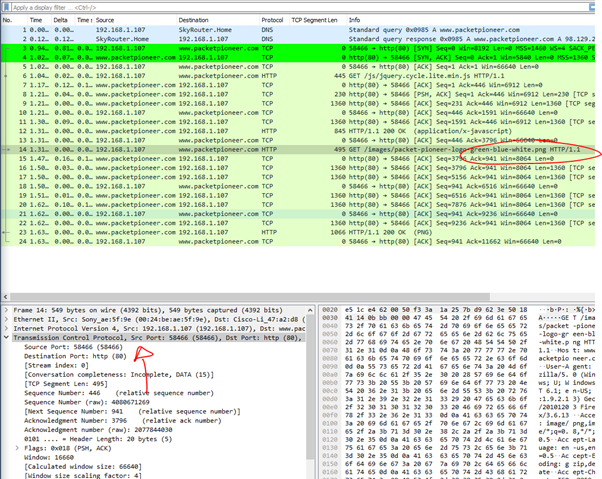
- Frame 14 contains a .png file and this is what we want to extract.
- Firstly Right-Click on TCP layer and go to
- Protocol Preferences
- Allow subdissector to reassemble TCP streams
- Reassembles the TCP stream. Otherwise it treats them one packet at a time..
- Then go to File > Export Objects and we can see that there are 5 types of Objects that WS can export by default
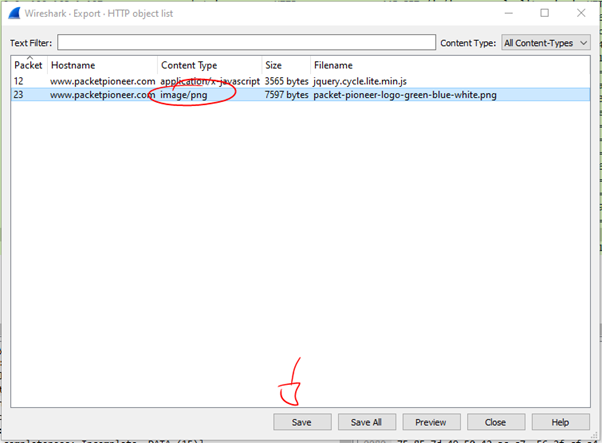
- So this is how we can extract files from the pcap
- Executables, binaries
- Be careful with malware that you don’t execute it!
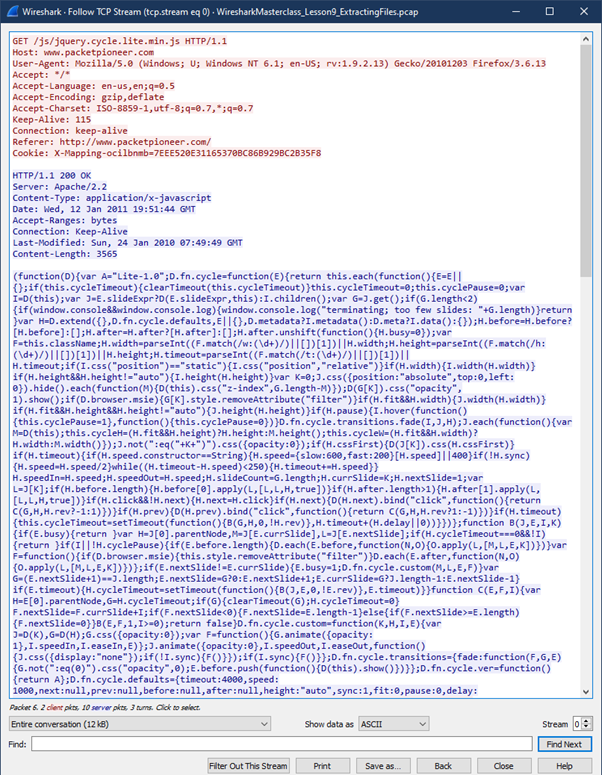
- If this export feature does not work, we can look at
- Right-Click on the frame
- Choose Follow TCP steam
- Here we can see the data that comprises the file
Map IP Address Locations with Wireshark Using GeoIP
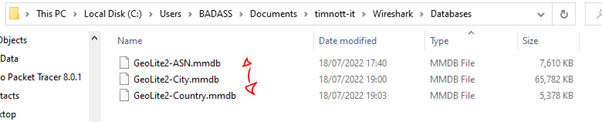
- First, we need to download and extract the databases from MaxMind.
- Now all we have to do is point WS at these databases

- With this set we can look at the IP layer of a packet and view the GeoIP which will include the City, Country and even map coordinates

- Now go to Statistics > Endpoints > Map > View In Browser

Leave a Reply