Replacing a single failed key on a laptop can be a hassle, especially when you have to take the whole thing apart just to get to the keyboard.
Taking It Apart

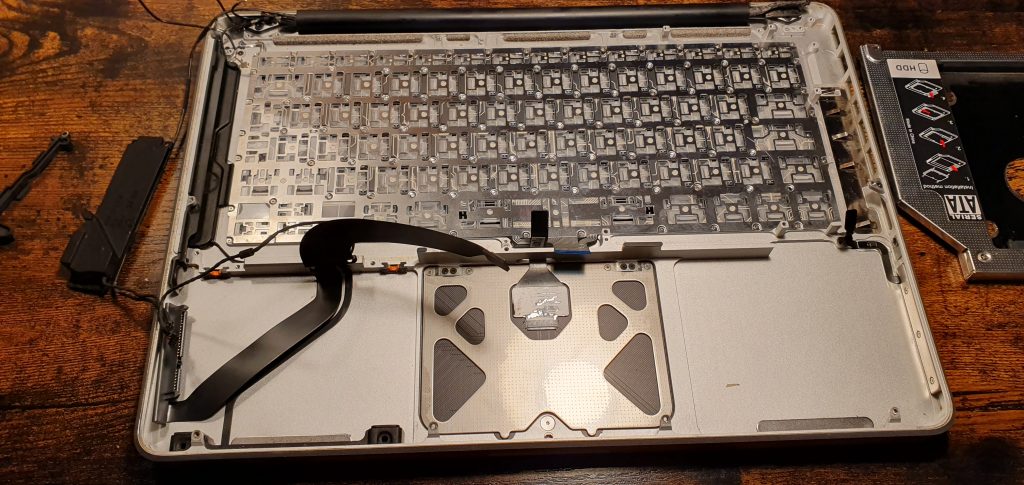
I recently had to go through this process myself, and it was not an easy task. From gathering the necessary tools to carefully disassembling the MacBook Pro and replacing the keyboard, it was a time-consuming and meticulous process. The keyboard itself has 51 miniature screws holding it in place. There are very few parts of the laptop that are not removed for this. Fortunately the screen is one of them.
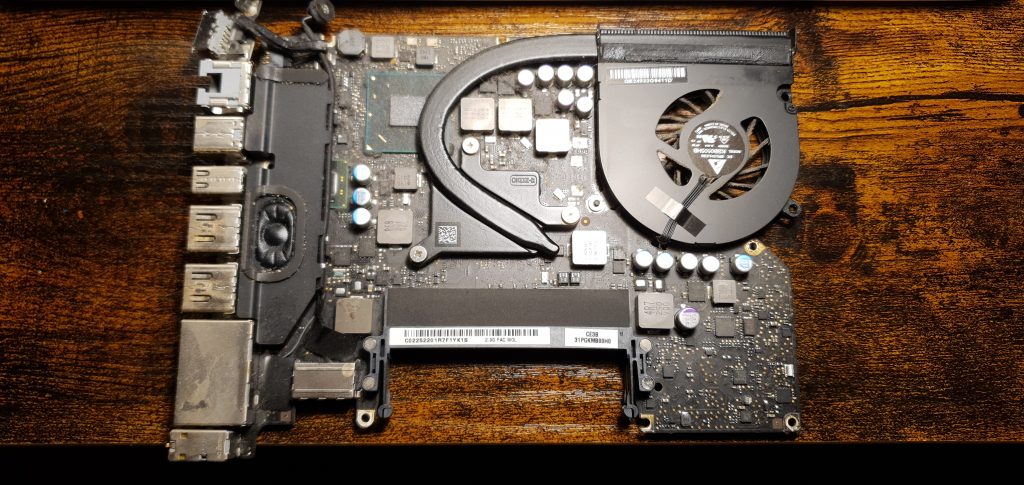
The logic board was completely disconnected and removed. Obviously a good time for a clean up but I stopped short of going at it with a toothbrush and isopropyl alchohol fearing that I was more likely do more harm than good.
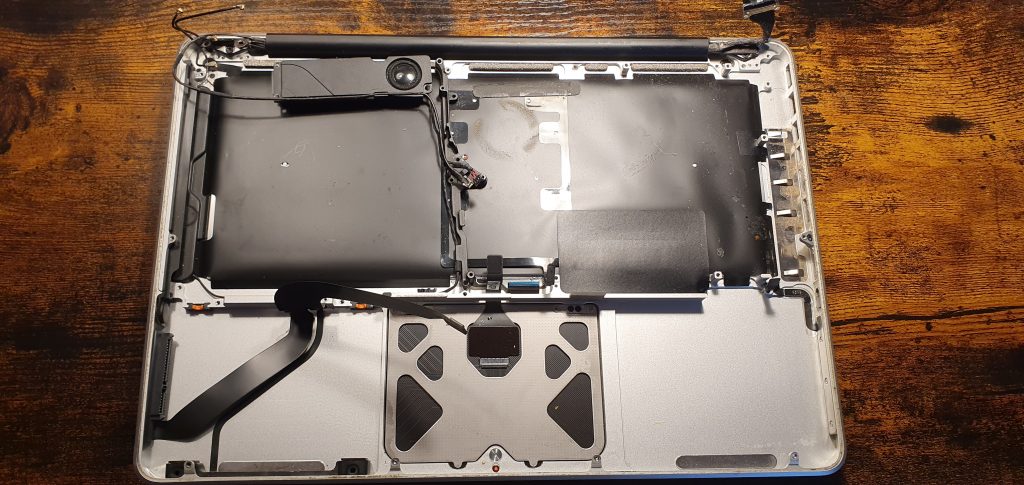
Once everything has been removed and there is only the keyboard seal left you have to carefully remove this without damaging it or the lightboard inside which provides the backlighting for all the keys.
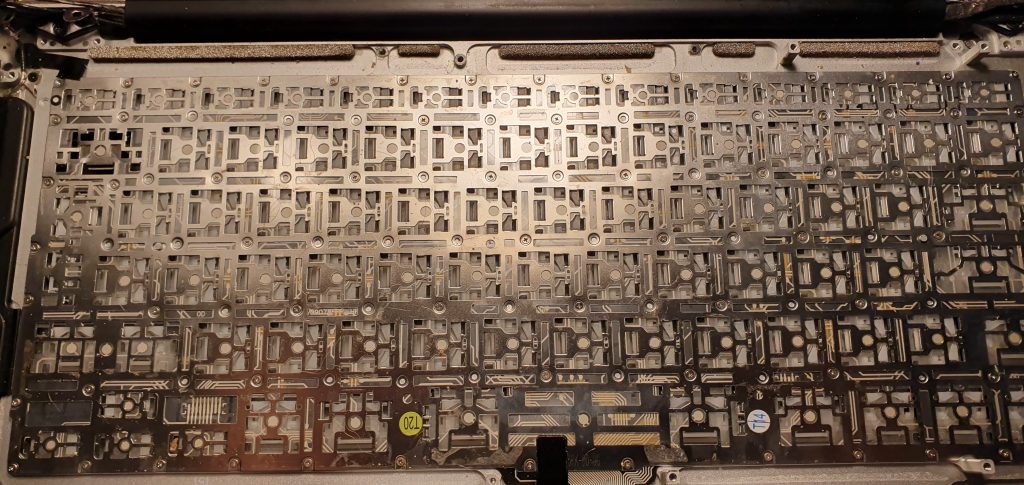
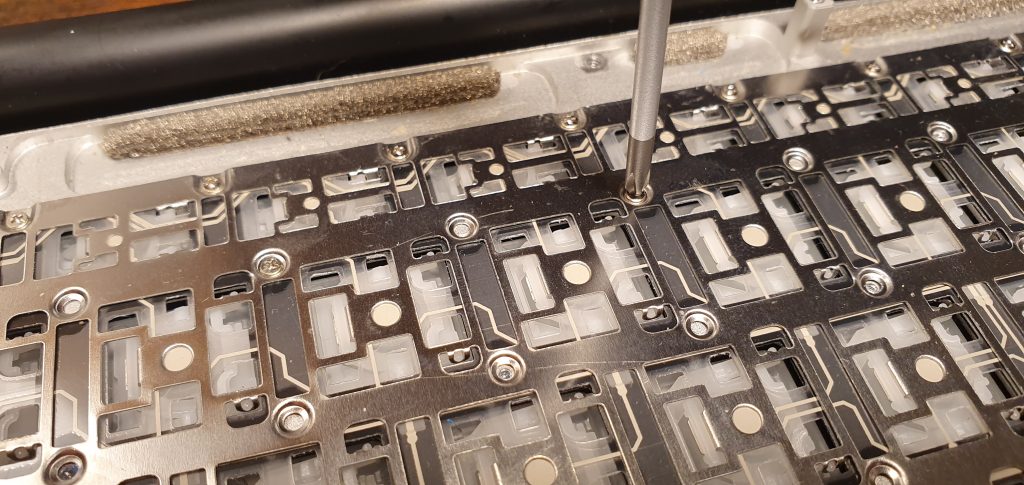
Finally we reach the keyboard itself and start on the 50+ tiny screws that need to removed and not lose.
Now Put It All Back Together
With the new keyboard in place we now have the task of putting it all back together correctly. Most of it is common sense but it is strongly advised to take as many photos as you can as you disassemble. Knowing which screws go where is the main challenge. They are all fairly similar.
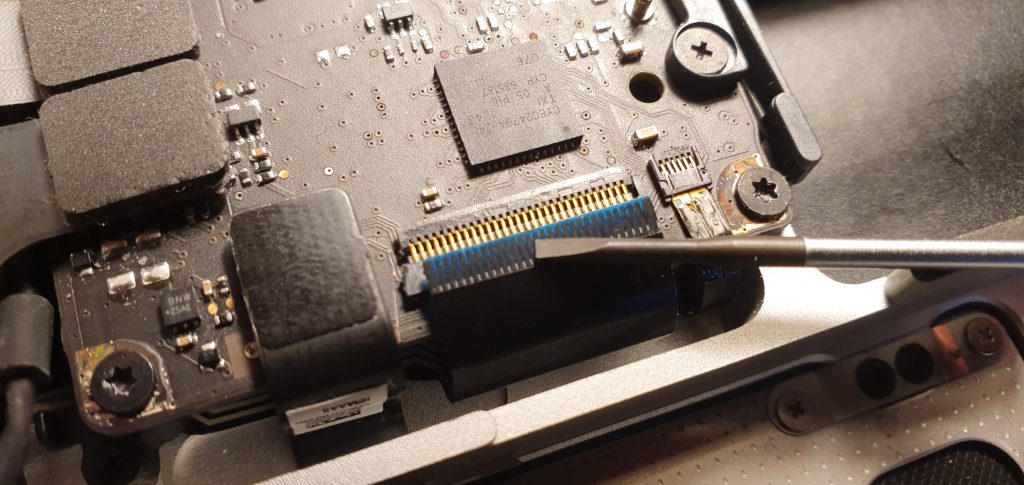
The hardest part of the reassembly was reconnecting the keyboard itself to the logic board. It’s just a thin ribbon of a tab with very little to get hold of to push into the socket. It took many attempts and it’s easy to damage it.

But it’s all worth it when the we have a fully functional laptop once again.